Perhaps it’s because I grew up in Canada and not the Deep South, but I wasn’t introduced to buttermilk biscuits until I was in my thirties. Sure I had the famous biscuit mix that comes in the yellow box but if you’ve ever had real homemade biscuits you know that box mix doesn’t count. Biscuits should only be eaten when they’re homemade and hot out of the oven. It’s so fast and easy with these 3 Tricks For Making Perfect Buttermilk Biscuits, that you’ll be making them all the time.
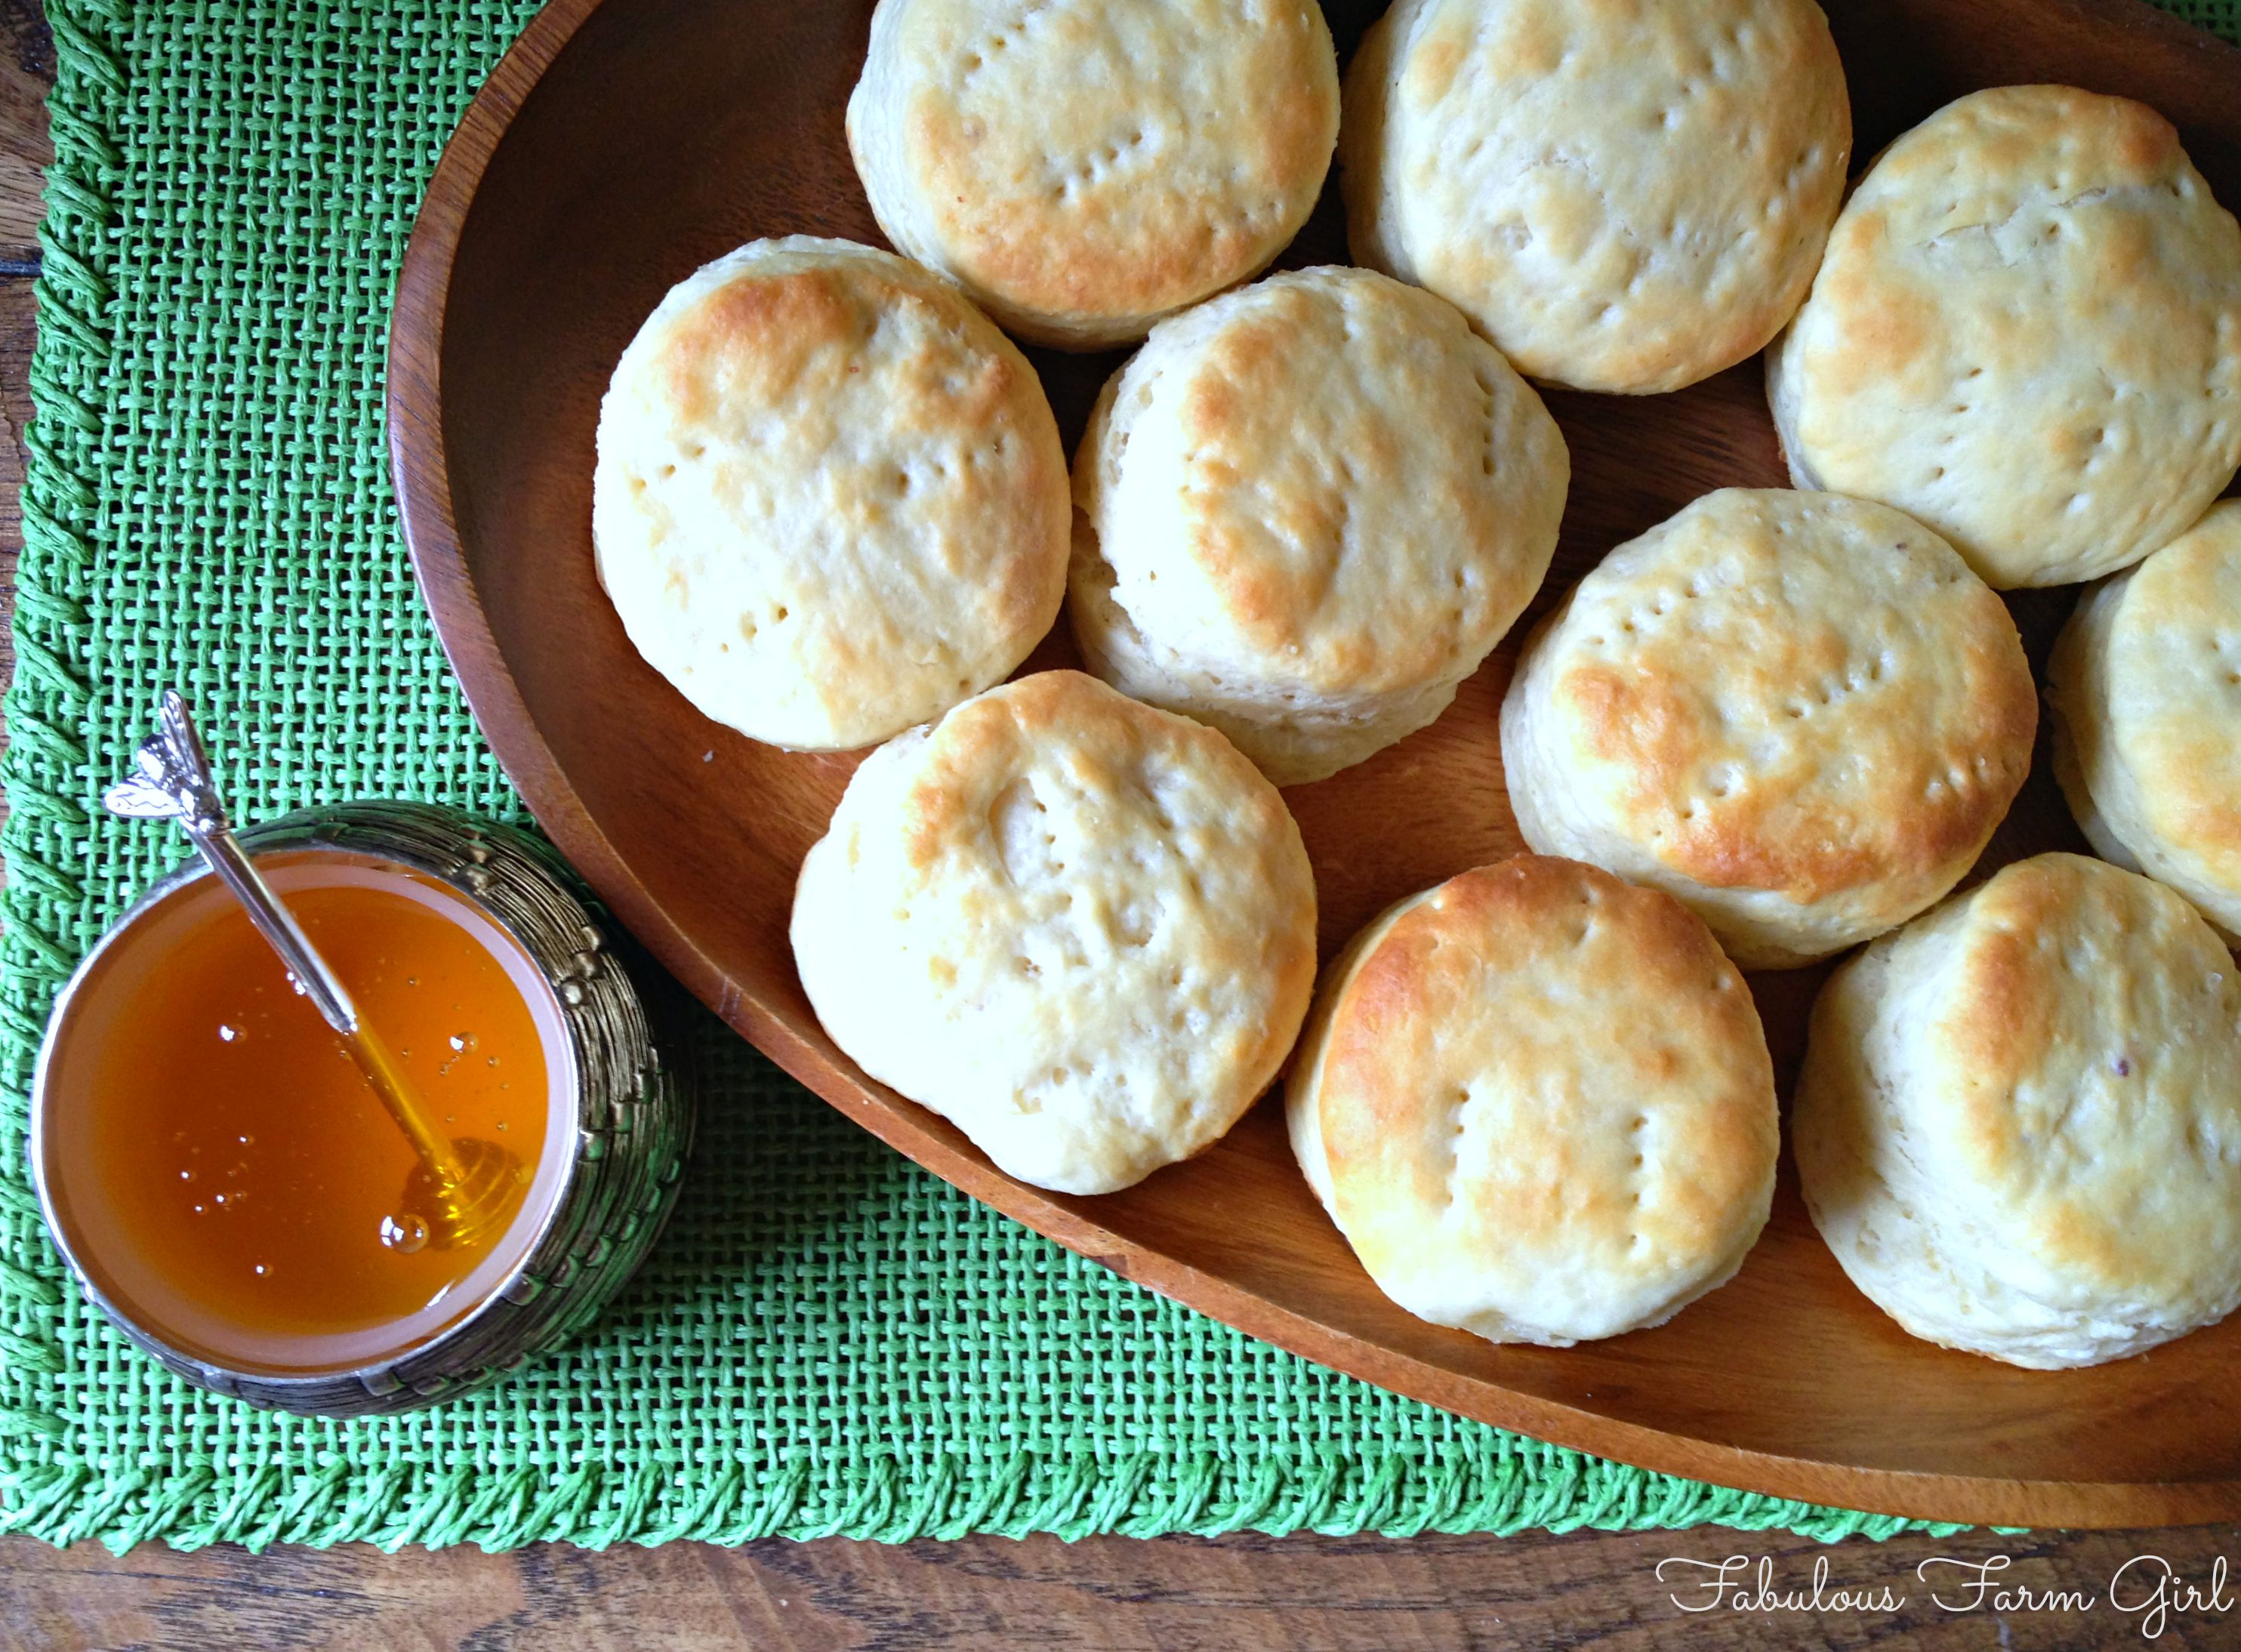
Everyone at my house is really crazy about biscuits and gravy. A while back I posted the recipe for my favorite Sausage Gravy and promised I would post my favorite buttermilk biscuit recipe soon. Okay, soon is a relative term but I promise this buttermilk biscuit recipe was worth the wait. They are light and flaky and if you don’t have any sausage gravy on hand they are just as delicious with some local honey or homemade jam. My preference is raw honey and you can read about the benefits HERE.
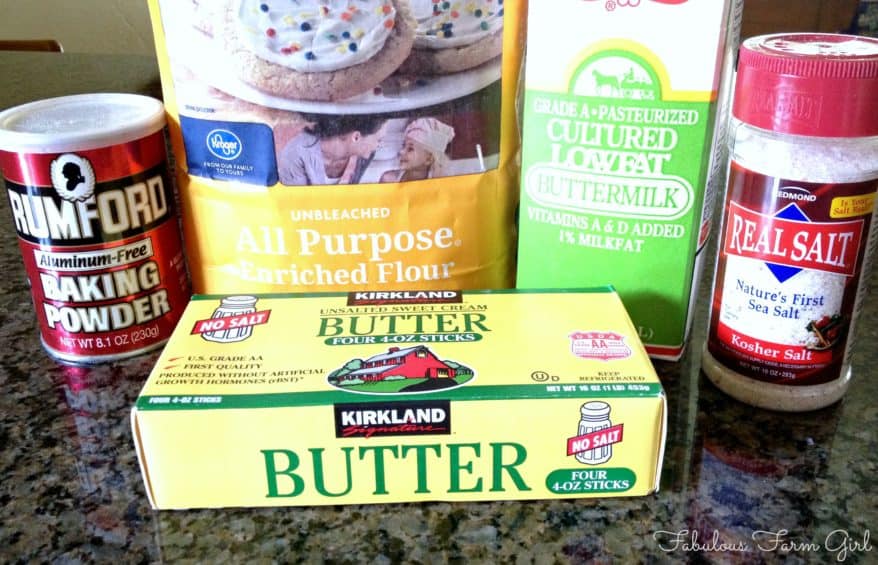
The great thing about buttermilk biscuits is that there are only five ingredients that you probably already have on hand.
Flour–use unbleached all-purpose flour because bleaching flour is just weird…and pointless.
Butter–real butter here folks, no margarine or other imposters. If you don’t have unsalted just use salted but use half the amount of salt in the recipe.
Baking Powder–only use aluminum-free baking powder because…why is there aluminum in baking soda?
Salt–either kosher or regular salt will work fine. My favorite brand is Redmond Real Salt.
Buttermilk–I prefer full fat when I can find it but low-fat works too.
Bonus Tip: Even if you don’t have buttermilk it’s easy to cheat and make your own. Here’s how:
Method #1–In a measuring cup mix 1 c. milk (2%, whole or even heavy cream) and 1 tbsp. either lemon juice OR white vinegar. Stir. Let sit for 5 min. to thicken.
Method # 2–Mix 3/4 c. milk with 1/4 c. plain yogurt. Stir.
Method #3–Mix 3/4 c. sour cream with 1/4 c. water. Stir.
Trick #1–Freeze the Butter
You may already use cold butter but frozen butter is the way to go. Making biscuits is the same as making pie crust–you need the shortening (in this case, butter) to be as cold as possible. Well, what’s colder than frozen? You don’t want it to start melting until it goes into the hot oven. The melting butter, combined with the steam in the dough is what creates the air pockets necessary for a light, flaky biscuit.
This tip comes courtesy of Southern Living Magazine and those folks know a thing or two about biscuits, let me tell you.
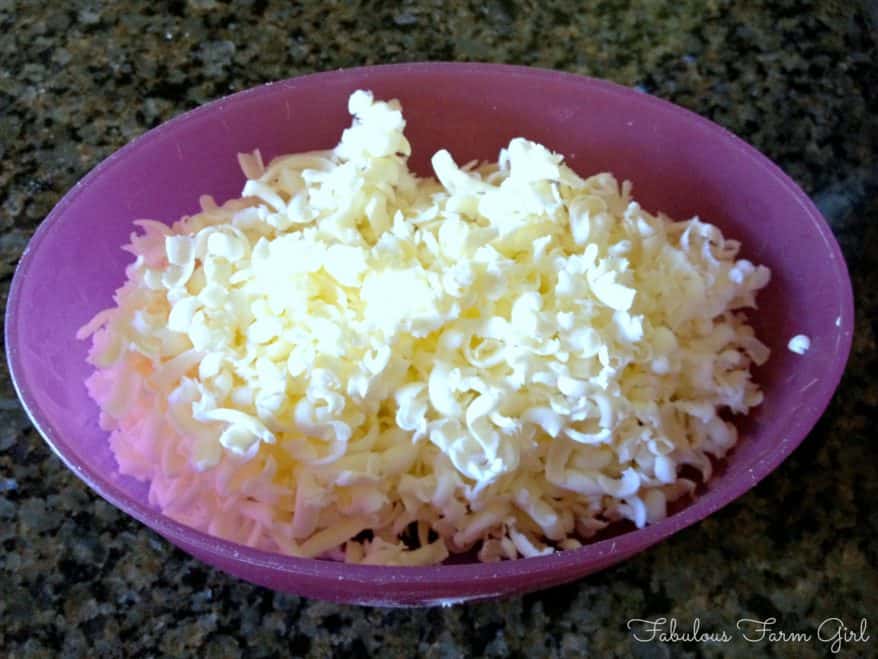
Grate the butter on a box grater that you’ve put in the freezer 10 minutes. Use the side with the side with the largest holes. This ensures a uniform crumb and eliminates the need to rub the flour and butter with your hot little hands and thereby softening the frozen butter.
Bonus Tip: always keep a stick or two of butter in the freezer so you’re ready to whip up a batch of biscuits (or pie crust) anytime.
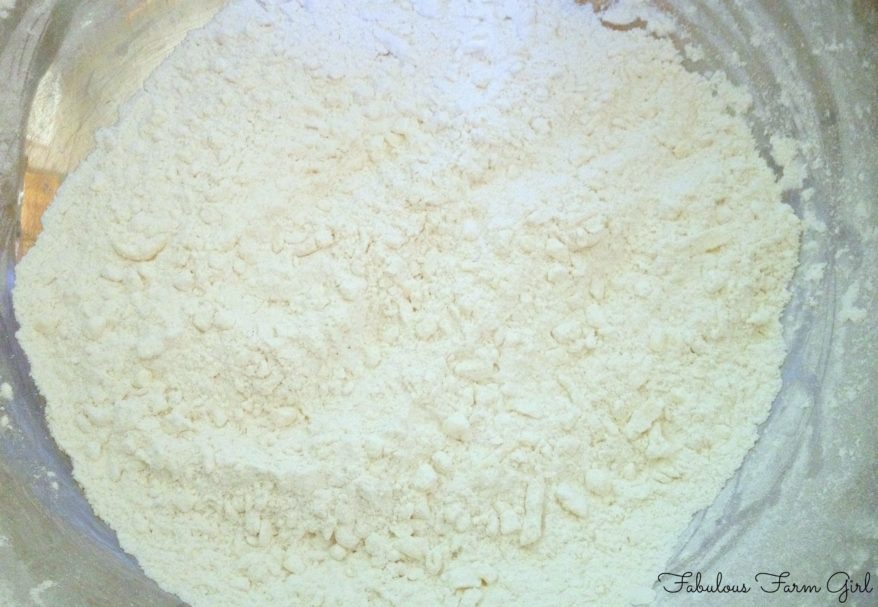
Just dump the grated butter in a metal bowl with the flour mixture and mix gently just to coat the butter pieces. Put the bowl in the freezer for 15 minutes to refreeze any softened bits of butter.
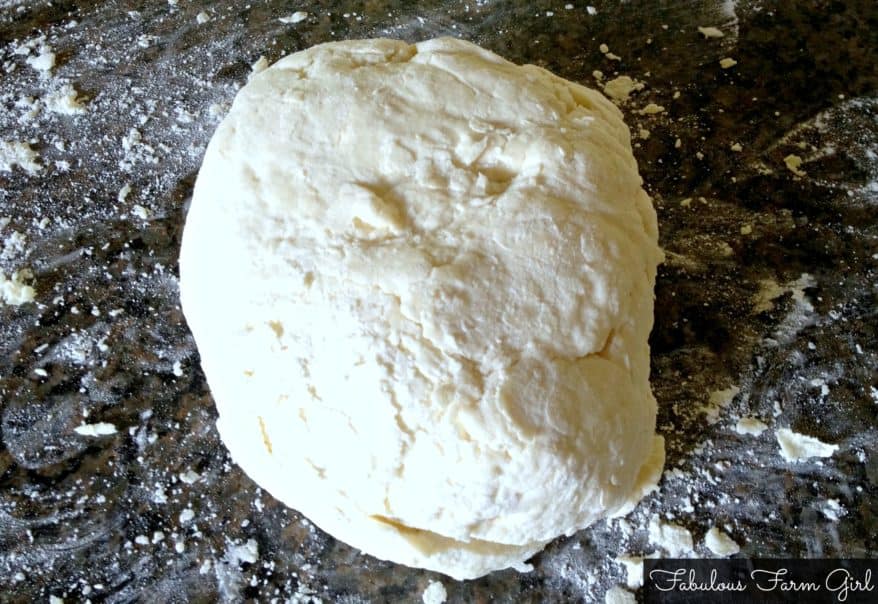
Now you’re going to add the cold buttermilk and mix with a wooden spoon about 15 times. Mixture may look a bit crumbly and a little hopeless at this point. No worries, just gather it together and turn it out onto a well-floured surface. Knead only 2-3 times until dough comes together in a ball.
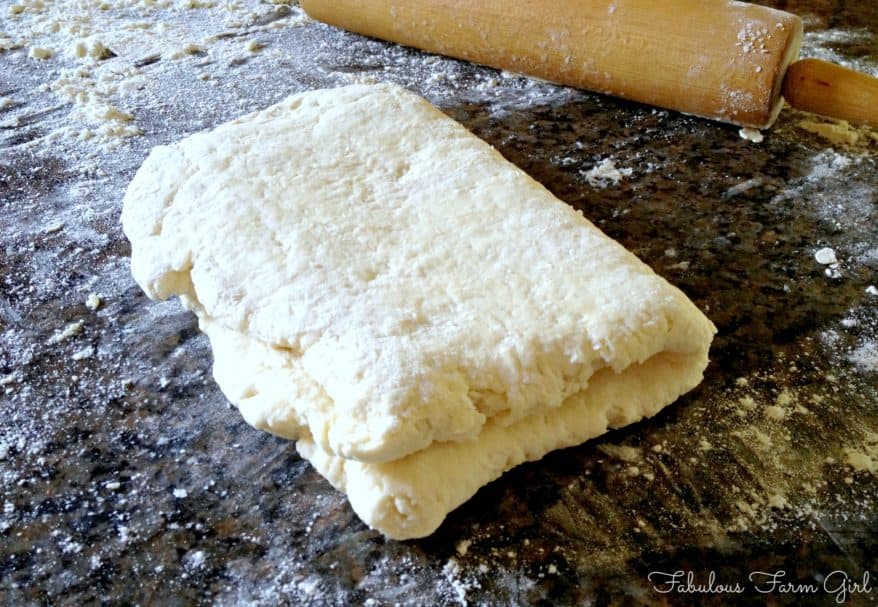
Trick # 2–Roll and Fold
You’re probably not familiar with making puff pastry because no one who’s not a professional baker would try making such a thing. But puff pastry is where trick #2 comes from, and that trick is the roll and fold. Puff pastry gets its layers by rolling it out, folding it in half and repeating that process several times. By repeating the roll and fold five times, turning the dough a quarter-turn after each fold, you will be creating biscuits with lots of delicious, flaky layers. Yum!
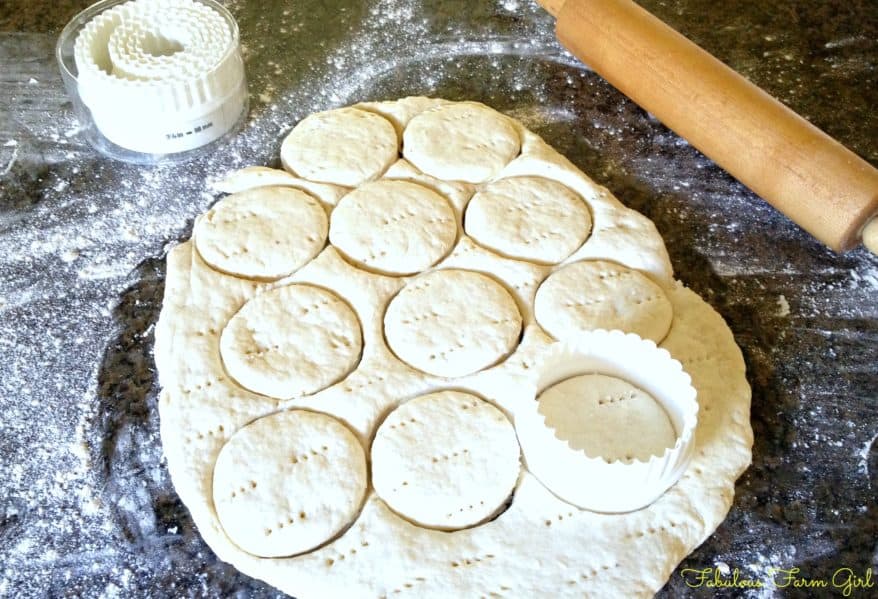
Once you’ve done the “roll and fold” 5 times, roll your dough out to 1/2 inch thick. Using a fork dipped in flour, pierce dough completely through at 1/2 inch intervals. I like a big biscuit so I use a 3 inch pastry cutter. You can do as small as 2 1/2 inch if you prefer a smaller biscuit.
Bonus Tip: To get your biscuits to rise to their fullest potential, don’t twist the cutter. It’s a habit, I know, but doing so will pinch and seal the edges and inhibit rising. Before each cut, dip the biscuit cutter in flour and then push into dough straight down and straight back up. Don’t worry. You’ll get used to it!
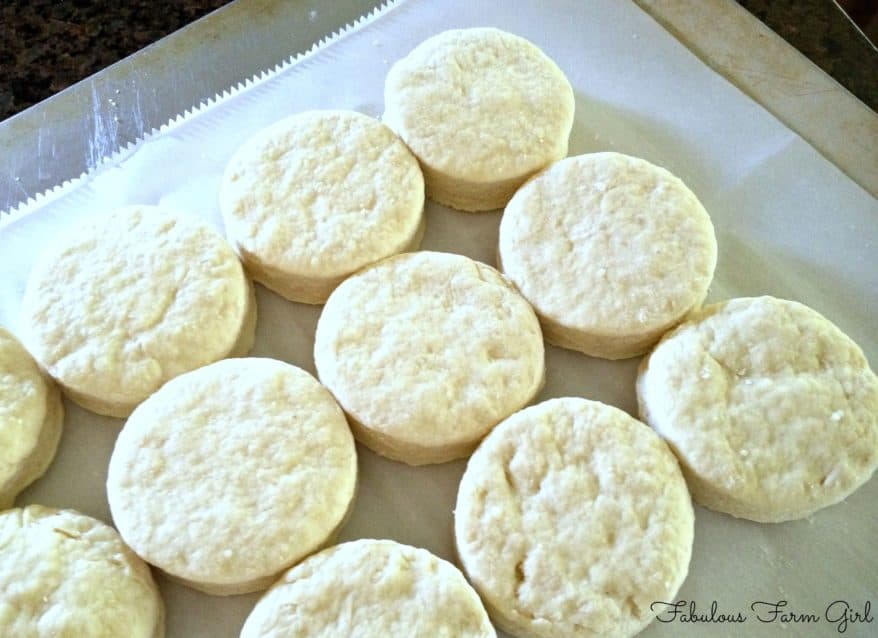
Trick # 3–Crowdsourcing
Every biscuit recipe I’ve seen tell you to put the biscuits on a pan spacing them 1/2 inch apart. Not a good idea if you want tall biscuits, which you do. By placing the biscuits right next to each other, the sides of the biscuits don’t set early and inhibit rising. You’ll know that this trick works when you compare the biscuits in the middle of the crowd to those on the edges. The middle biscuits will be equally tall on all four sides since they had neighbors on all sides to encourage their growth. Biscuits on the outside will have at least one edge that isn’t touching a neighbor and that edge will be significantly flatter. Don’t worry, they’ll still be delicious, just not as photo-worthy.
So squish those babies together until there is no space in between them. Biscuits, just like people, get by with a little help from their friends.
Bonus Tip: I recommend using a light colored insulated pan for baking biscuits (and most other things too). This will keep the biscuits from getting to dark on the bottom. For years I’ve been using this fabulous set of insulated cookie sheets.
Once you see how easy it is to make perfect buttermilk biscuits, nothing from a box or the freezer case at your grocery store will ever do, especially once you read the ingredient labels. Just a few simple tricks will make homemade biscuits a fool-proof part of your cooking repertoire and keep your family asking for more. Pass the honey, please!
Buttermilk Biscuits
2 1/2 cups all-purpose flour
3 3/4 tsp. baking powder
1 1/2 tsp. salt (use half this amount if using salted butter)
1/2 cup unsalted butter, frozen
1 cup cold buttermilk (or use replacements listed above)
2 tbsp. butter, melted
Preheat oven to 450°.
In a medium metal bowl, mix together flour, baking powder and salt. Grate frozen butter using large holes of a box grater. Add grated butter to flour mixture and stir gently to coat the butter. Put bowl in freezer for 15 minutes.
Make a well in center of mixture and add buttermilk all at once. Stir together with a wooden spoon about 15 times. Dough will not come together completely at this point and will look a bit unpromising.
Turn dough out onto a lightly floured surface and knead only 2-3 times to form a ball. Lightly sprinkle flour over top of dough. Using a lightly floured rolling pin, roll dough into a 3/4-inch-thick rectangle (about 9 x 5 inches). Fold dough in half so short ends meet. Turn dough 1/4 turn. Repeat rolling, folding and turning process 4 more times.
Roll dough to 1/2-inch thickness. Cut with a floured round cutter, reshaping scraps and cutting until all dough is used.
Place a piece of parchment paper on a cookie sheet. Place biscuits on pan so that all biscuits are touching each other with no space in between. Bake for 15 minutes or until lightly browned. Remove from oven and brush tops with melted butter.
What’s your favorite thing to put on biscuits?
Rebecca says
Wow, great tips on making yummy biscuits. And I learned not to twist the cutter which I’ve been doing for all my life !!!! This is a keeper recipe. Pinning for much use later, Thanks for sharing. Visiting from the Sits Girls.
Leah says
Hi Rebecca–thanks for stopping by. Don’t feel bad about twisting the cutter. It is so ingrained in me that I still have to remind myself every single time. Old habits die hard but it will make a difference in the height of your biscuits. Can’t wait for you to make your next batch of biscuits. You’ll be amazed! have a great day.
–Leah
Kimberly says
Great tips for making biscuits! I had never thought of making them with frozen butter. I’ll have to try that next time I make some!
Leah says
It really does make a difference Kimberly. Let me know how your next batch turns out.
–Leah
Charlotte Moore says
My biscuits turn out so much better now since I started doing the roll and fold. It is amazing at the difference. You mentioned baking soda in the list of ingredients but baking powder in the recipe. I thought it seemed like a lot of soda. I use baking powder. I like my biscuits to be lightly browned too. Yours looks wonderful
Leah says
Thanks for pointing out the typo Charlotte. I have fixed it in the post. The roll-and-fold really is a game changer when it comes to biscuits and I love that it’s an easy trick. Thanks for stopping by and have a great day!
–Leah
Ingrid @ Fabulous and Fun Life says
Have printed out this recipe to try tomorrow!
Leah says
Cool! Let me know what you think.
–Leah
Jean Wise says
great tips in how to make a goodie! Thanks. coming over from SITSgirls.
Leah says
Thanks for stopping by!
Mila says
Oh yum! Nothing better than warm and fluffy biscuits!
Sara says
Grating & freezing the butter is genius! Thanks for sharing the tips!
Bob says
Is there a reason my biscuits turn out more yellow than white after baking? Pretty sure I’m using the same flour you’ve got in your picture, Kroger brand apf.
Albert Jewell says
Leah, Biscuits are something that I have worked on for a very long time. I`ve gone from box mixes to more recipes then I can remember. It has been a very disapointing venture till I came upon your web sight. My problem I`ve learn has been tecnique not ingredients. The tips you wrote about really have made me smile. Things are not perfect but close. When a batch is a little off I now understand why; no more shooting in the dark.